


SAML with Microsoft Entra ID
SAML authentication is only available on Pro and Enterprise plans (both self-hosted and on Metabase Cloud).
Enable SAML in Metabase
First, follow our guide to enable SAML authentication.
Add an Enterprise Application in Microsoft Entra ID
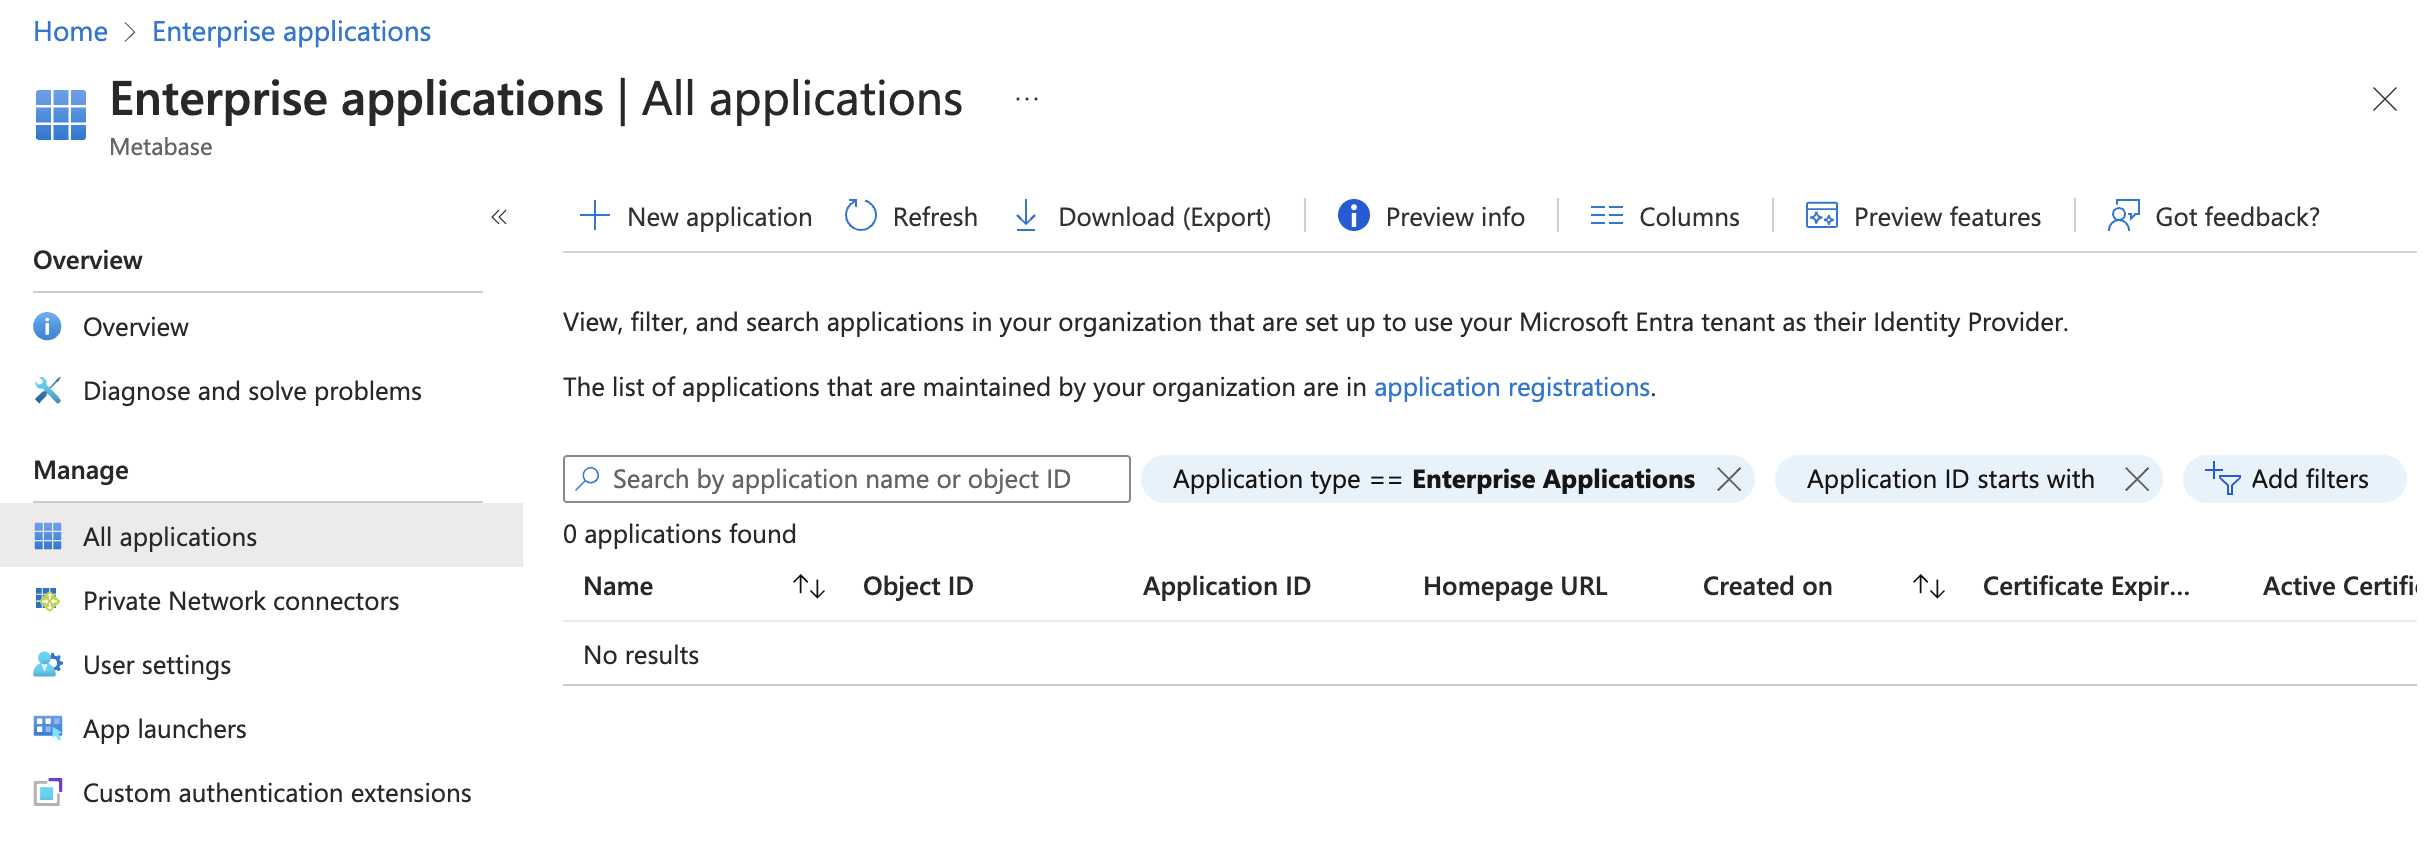
Go to Microsoft Entra admin center and click on Enterprise Applications under Applications from the side bar. Once there, click on + New Application in the bar on the top of the page.
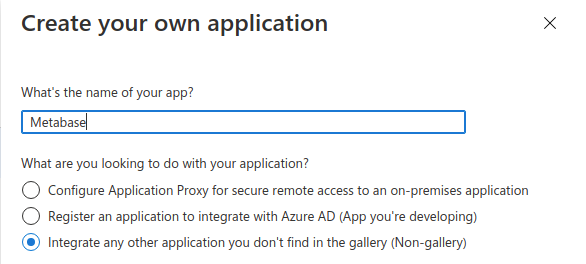
In the new page click on + Create your own application and a bar will open in the right side of the page. Enter “Metabase” as the name of the application, select Integrate any other application you don't find in the gallery (Non-gallery) as the option and click the Create button on the bottom of the bar.
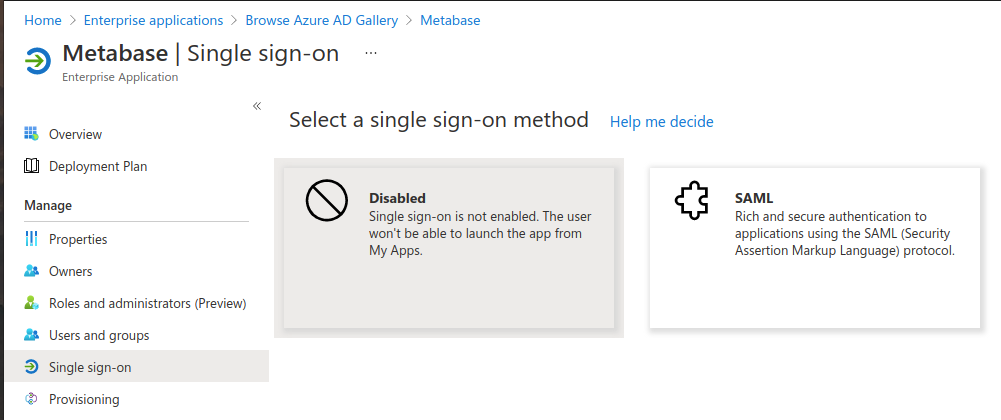
On the application page, under Manage, select Single Sign-on, then click on the “SAML” button.
When the “Set up Single Sign-On with SAML” page appears, you’ll see an option for “Basic SAML configuration”. Click on the Edit button to enter the required info.
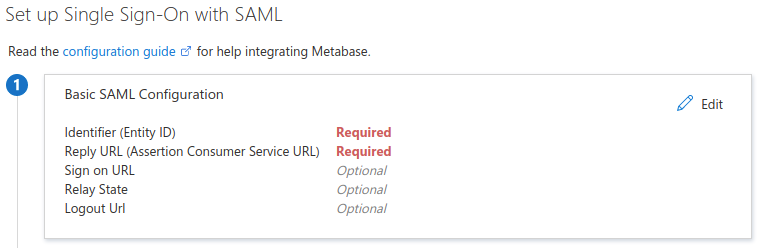
Fill out the following fields as follows and click “Save”:
- Identifier (Entity ID):
Metabase - Reply URL (Assertion Consumer Service URL): go to your Metabase instance in Settings -> Admin-> Authentication -> SAML and insert the value that your Metabase instance reports in the “Configure your identity provider (IdP)” box.
Click on “Save” and then note the following 2 items on step 4:
- “Login URL”: this is the value you need to enter in “SAML identity provider URL” in Metabase on the next step
- “Microsoft Entra Identifier”: this is the value you need to enter in “SAML identity provider issuer” in Metabase on the next step
Download the “Federation Metadata XML” file, which will have the certificate you’ll need in the next step.
To finish the Microsoft Entra side of the configuration, click on the Users and groups button on the Manage tab and add the users or groups that should have access to Metabase.
Configure the Enterprise Application with Metabase SSO information
Log in to Metabase as an administrator and go to Admin -> Settings -> Authentication -> SAML.
Under “Tell Metabase about your identity provider”, enter the following:
- SAML Identity Provider URL: the “Login URL” you got on Step 4 on the Microsoft Entra ID SAML SSO configuration
- SAML Identity Provider Certificate: open the “Federation Metadata XML” with a text editor, copy and paste the super long string under the
<X509Certificate>tag in the “App Federation Metadata Url”. Make sure you copy and paste the whole string; if you miss any character, the integration won’t work - SAML Application Name: “Metabase”
- SAML Identity Provider Issuer: the “Microsoft Entra Identifier” URL you got from the Microsoft Entra ID SAML SSO configuration.
Click on Save and Enable below, and you should now be able to log in via Microsoft Entra ID.
Send group membership to Metabase for group mapping
If you want to send the user group membership to Metabase, then you need to add a group claim on step 2, “Set up Single Sign-On with SAML” on Azure:
- To the right of “Attributes & Claims”, click on “Edit.”
- Click “Add a group claim.”
- On the menu that appears for “Which groups associated with the user should be returned in the claim?”, select “All groups.”
- Click on Save.
- Then add the group mapping on the Metabase SAML configuration.
Further reading
Read docs for other versions of Metabase.