


SAML with Auth0
SAML authentication is only available on Pro and Enterprise plans (both self-hosted and on Metabase Cloud).
- Configure SAML in Auth0 (the identity provider).
- Configure SAML in Metabase (the service provider).
For more information, check out our guide for authenticating with SAML.
Working in the Auth0 console
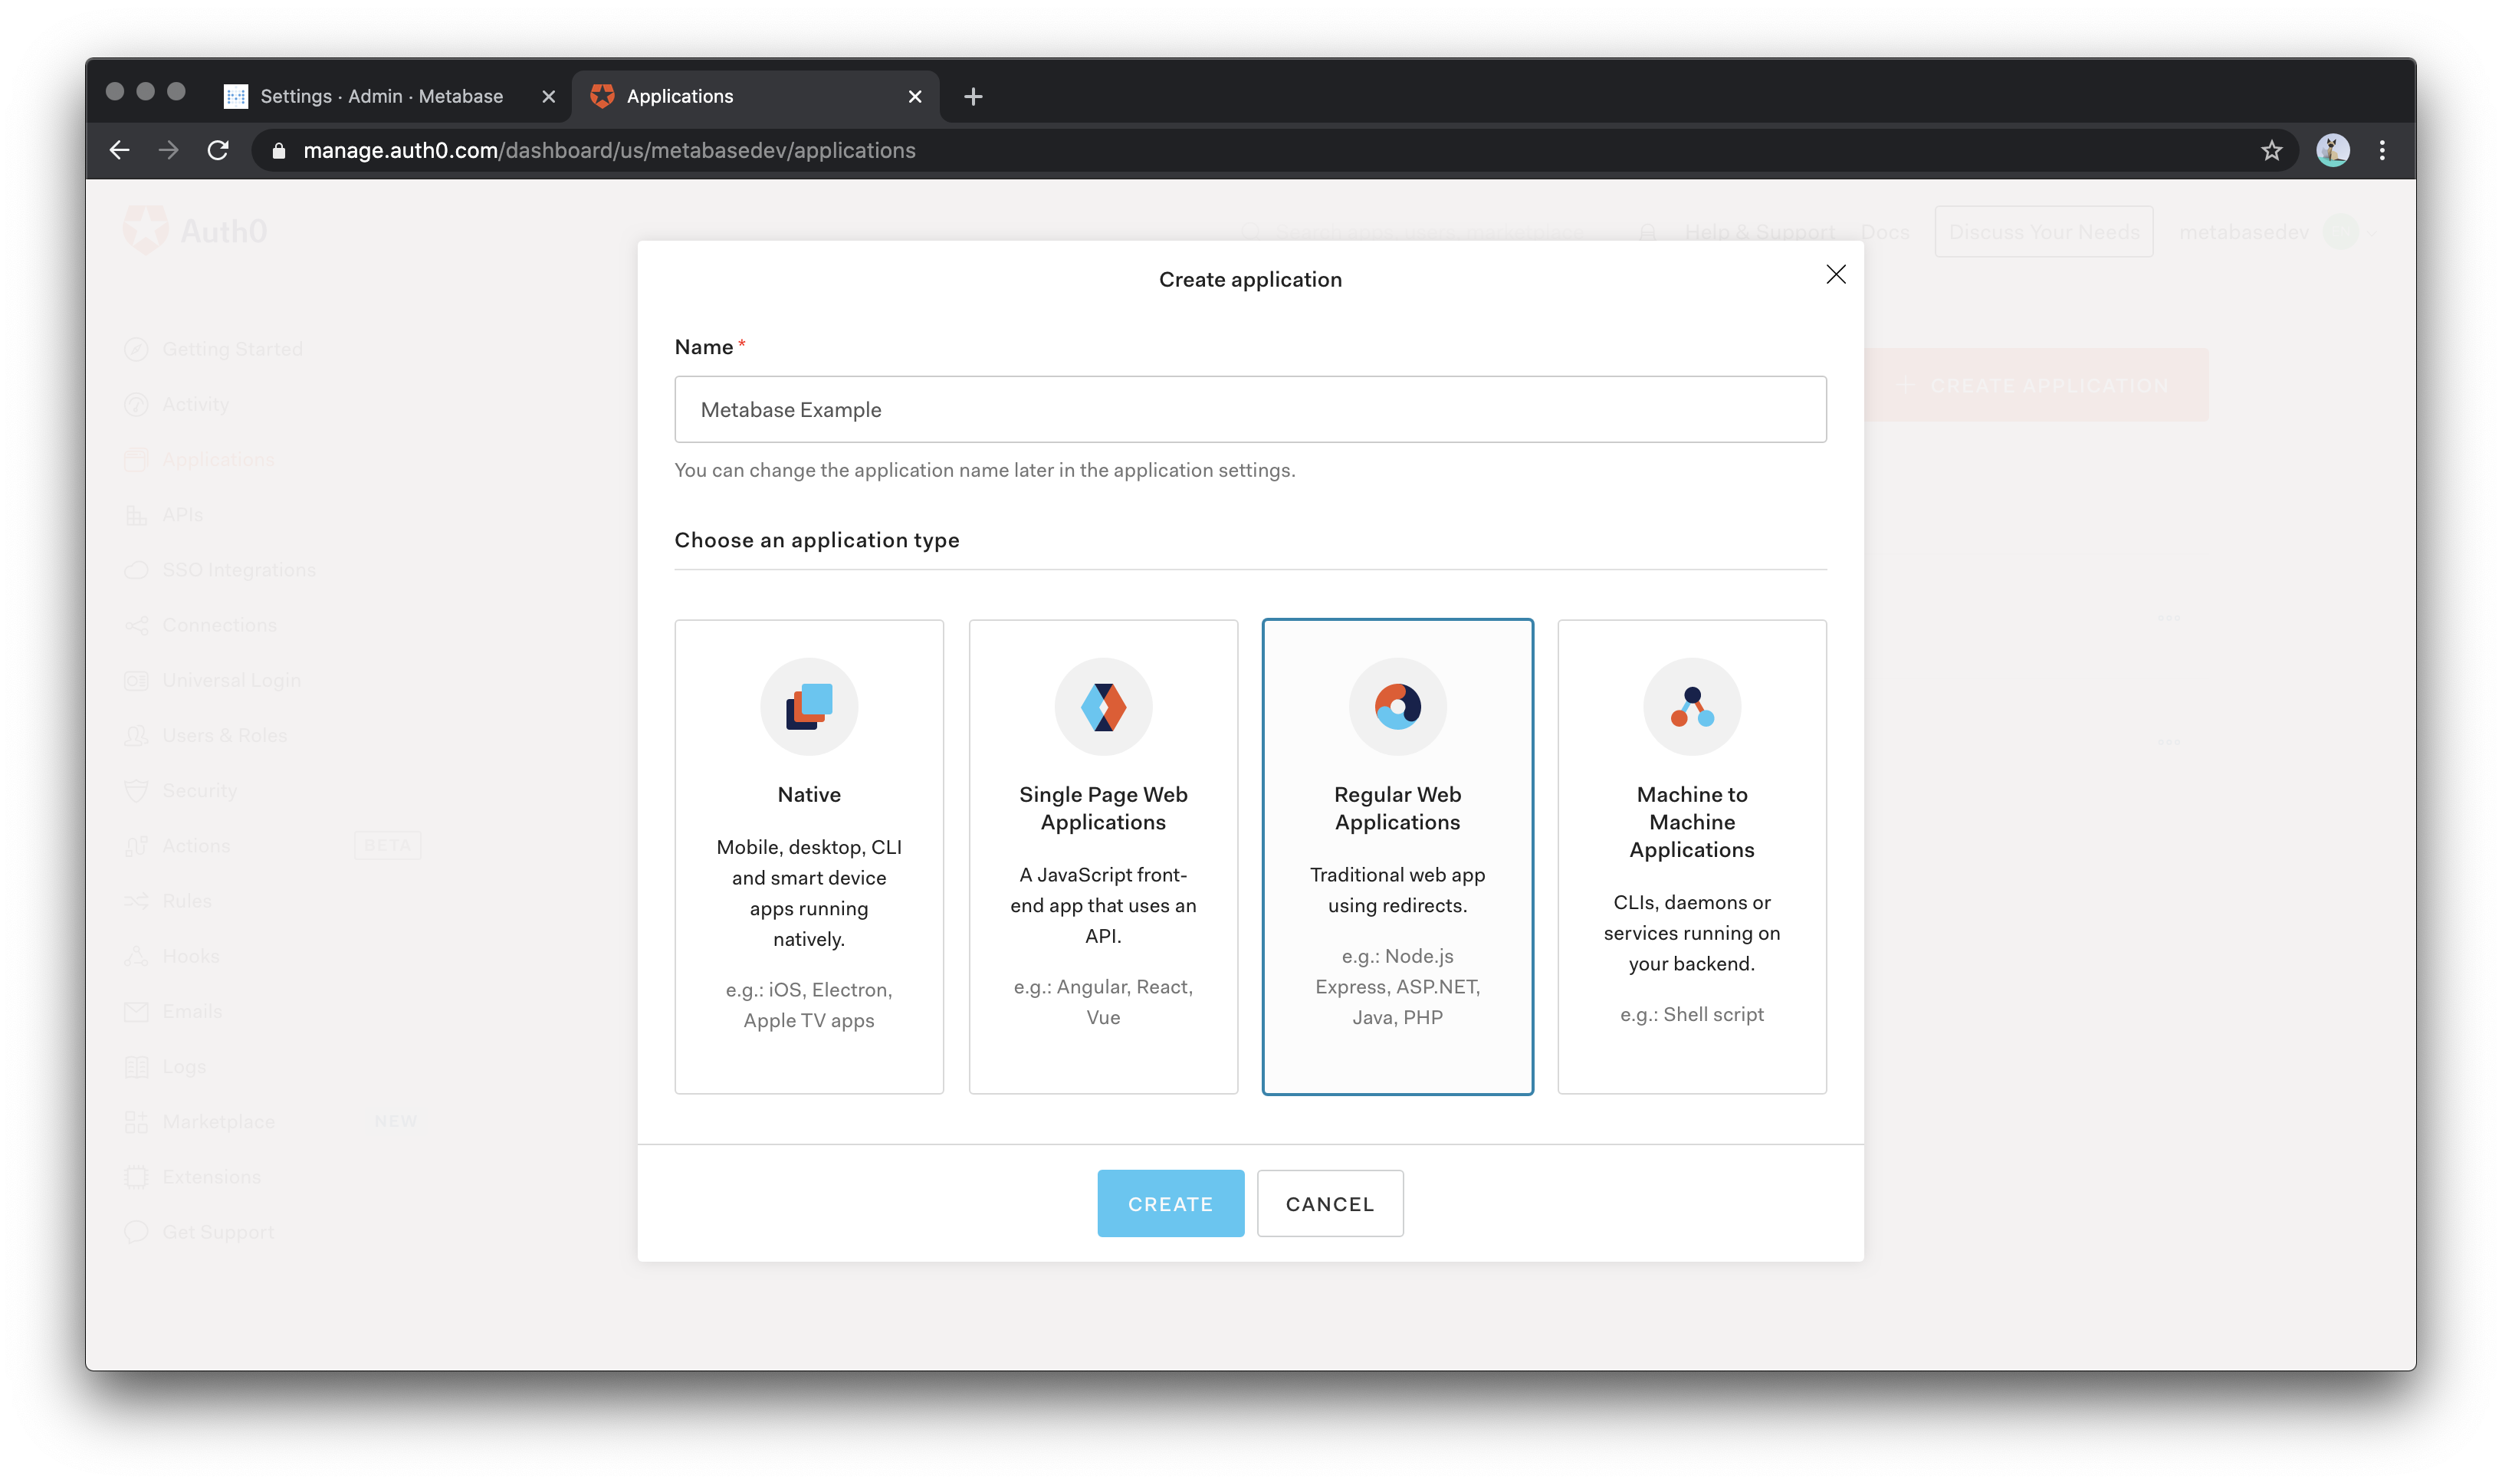
Create an application
After you log in to your Auth0 account, navigate to Applications and select Create Application.
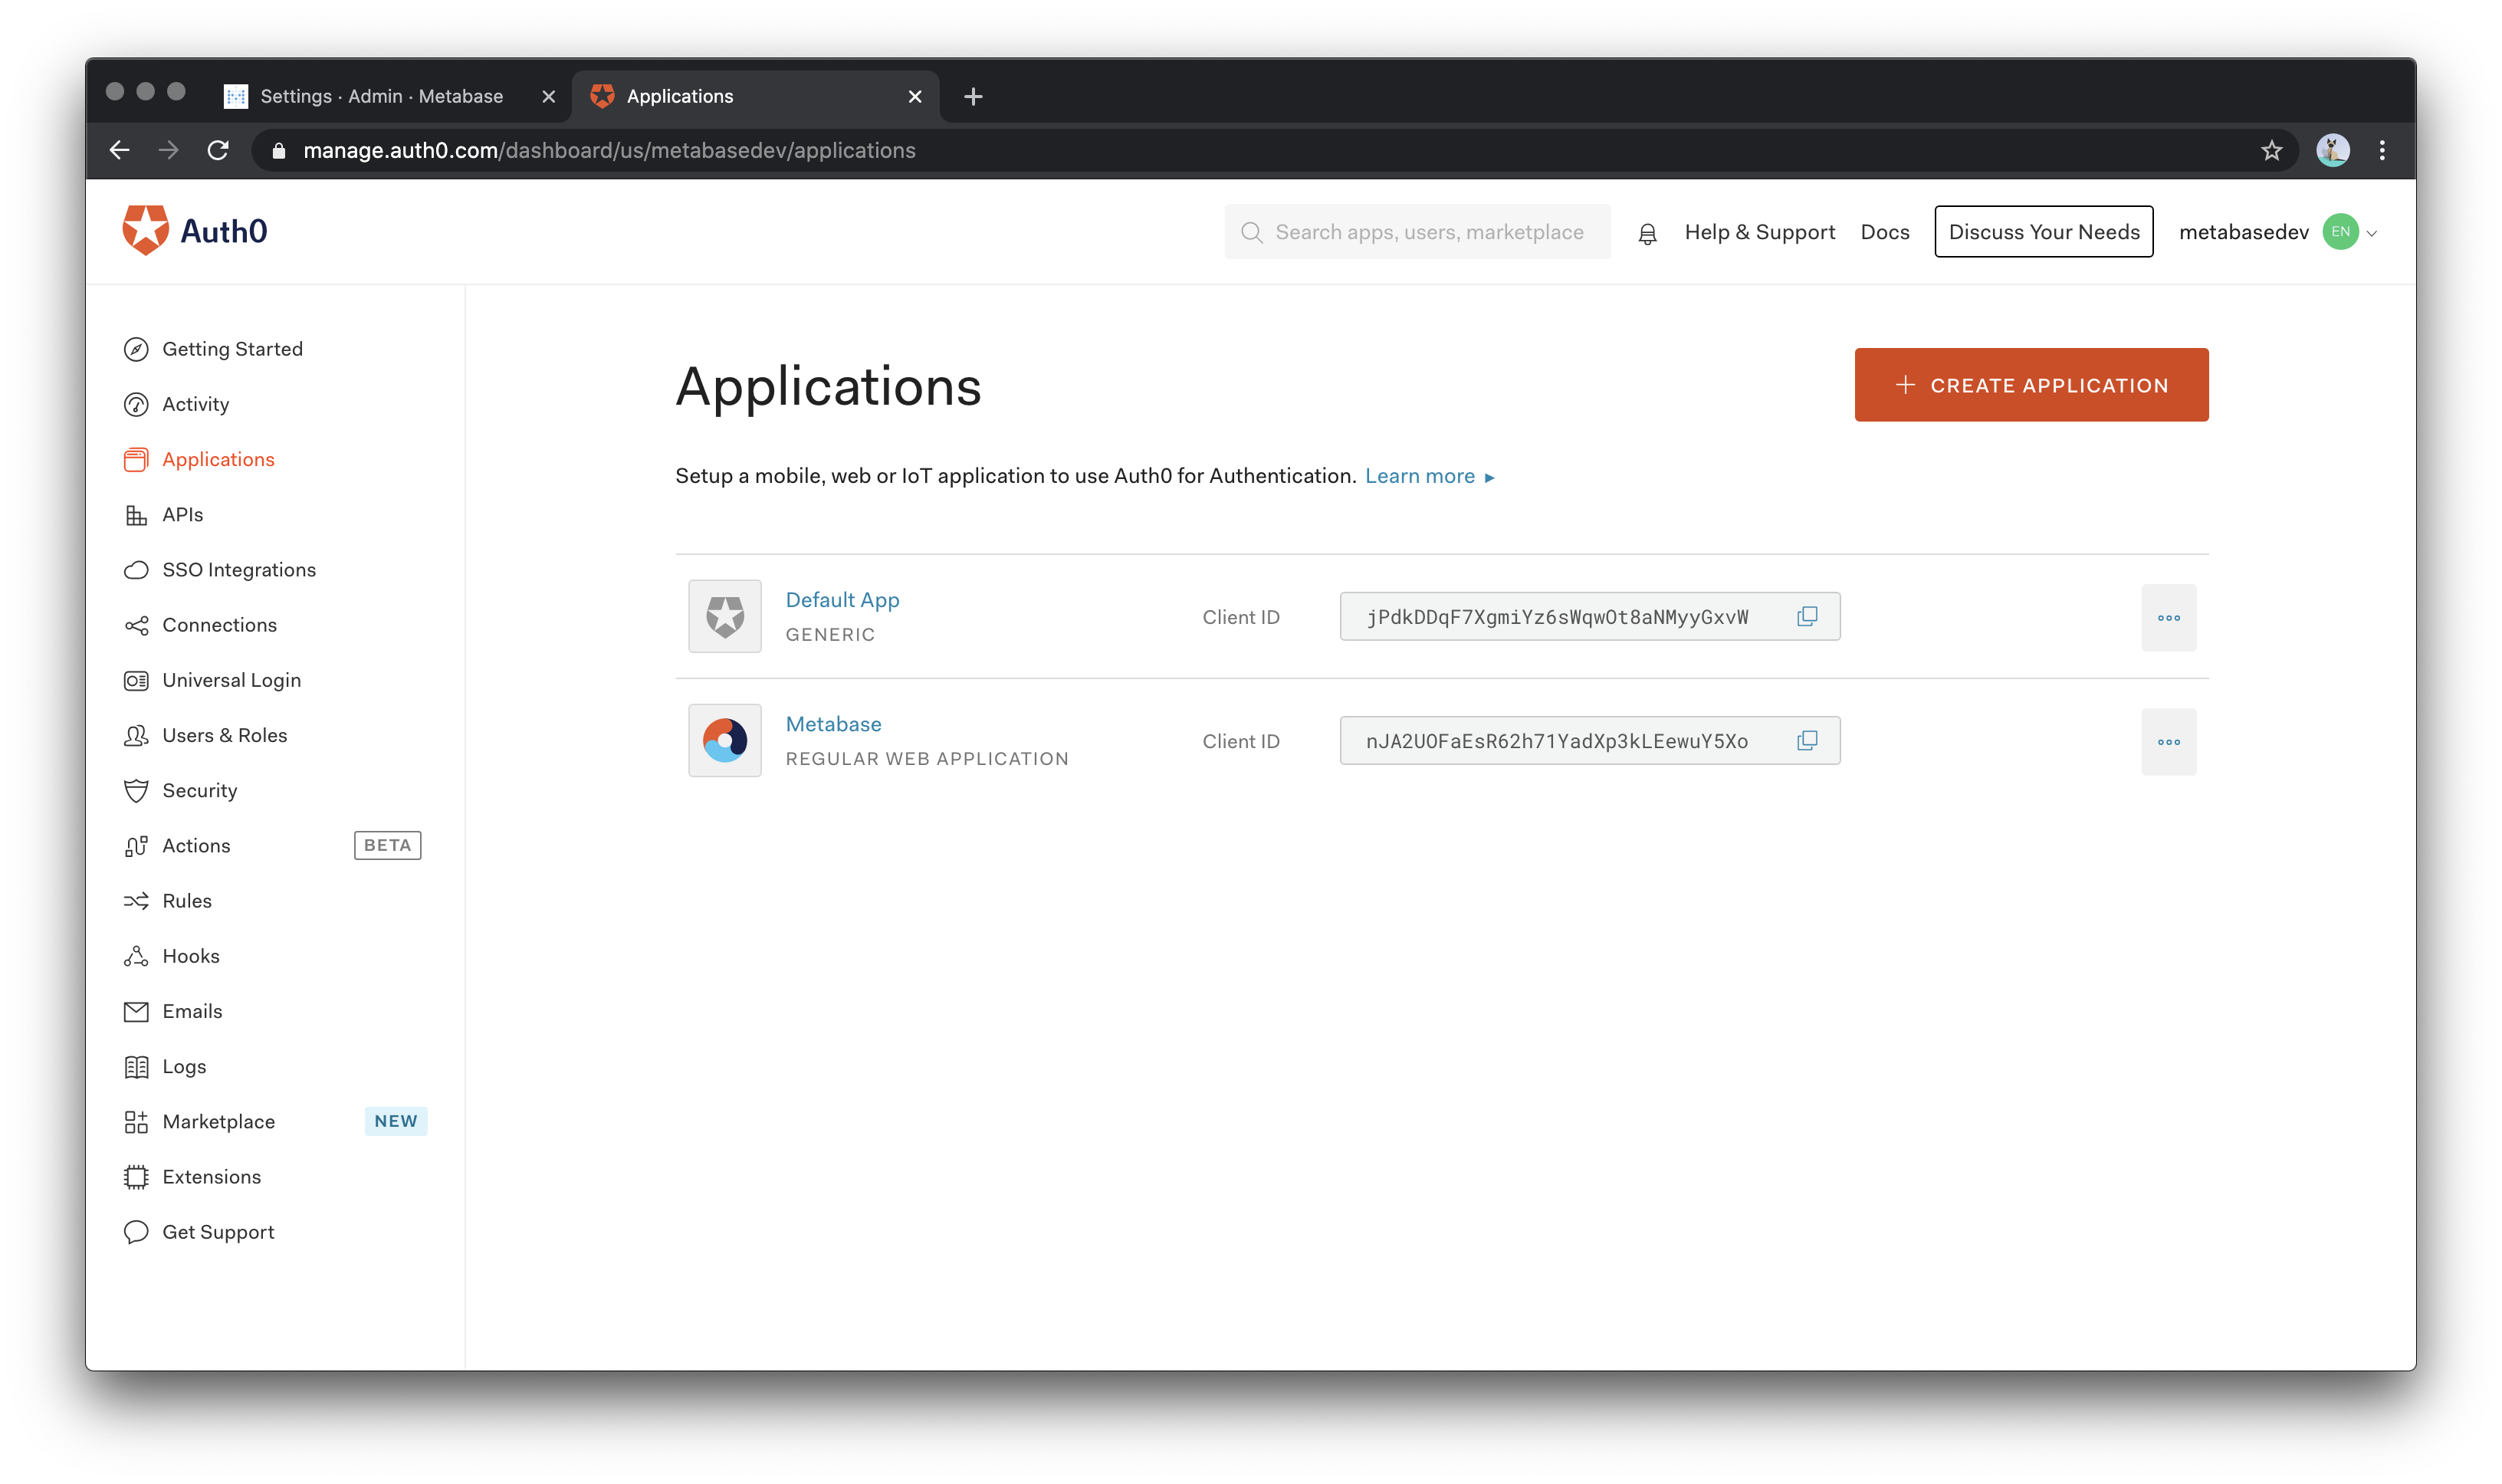
Enter “Metabase” as the application name with type “Regular Web Applications”.
Now go to Settings tab inside Auth0’s Metabase App and fill in the following values:
- Application Login URI: the URL of your Metabase instance.
- Allowed Callback URLs: the URL that’s below Configure your identity provider (IdP) in SAML settings inside Metabase (it ends with
/auth/sso).
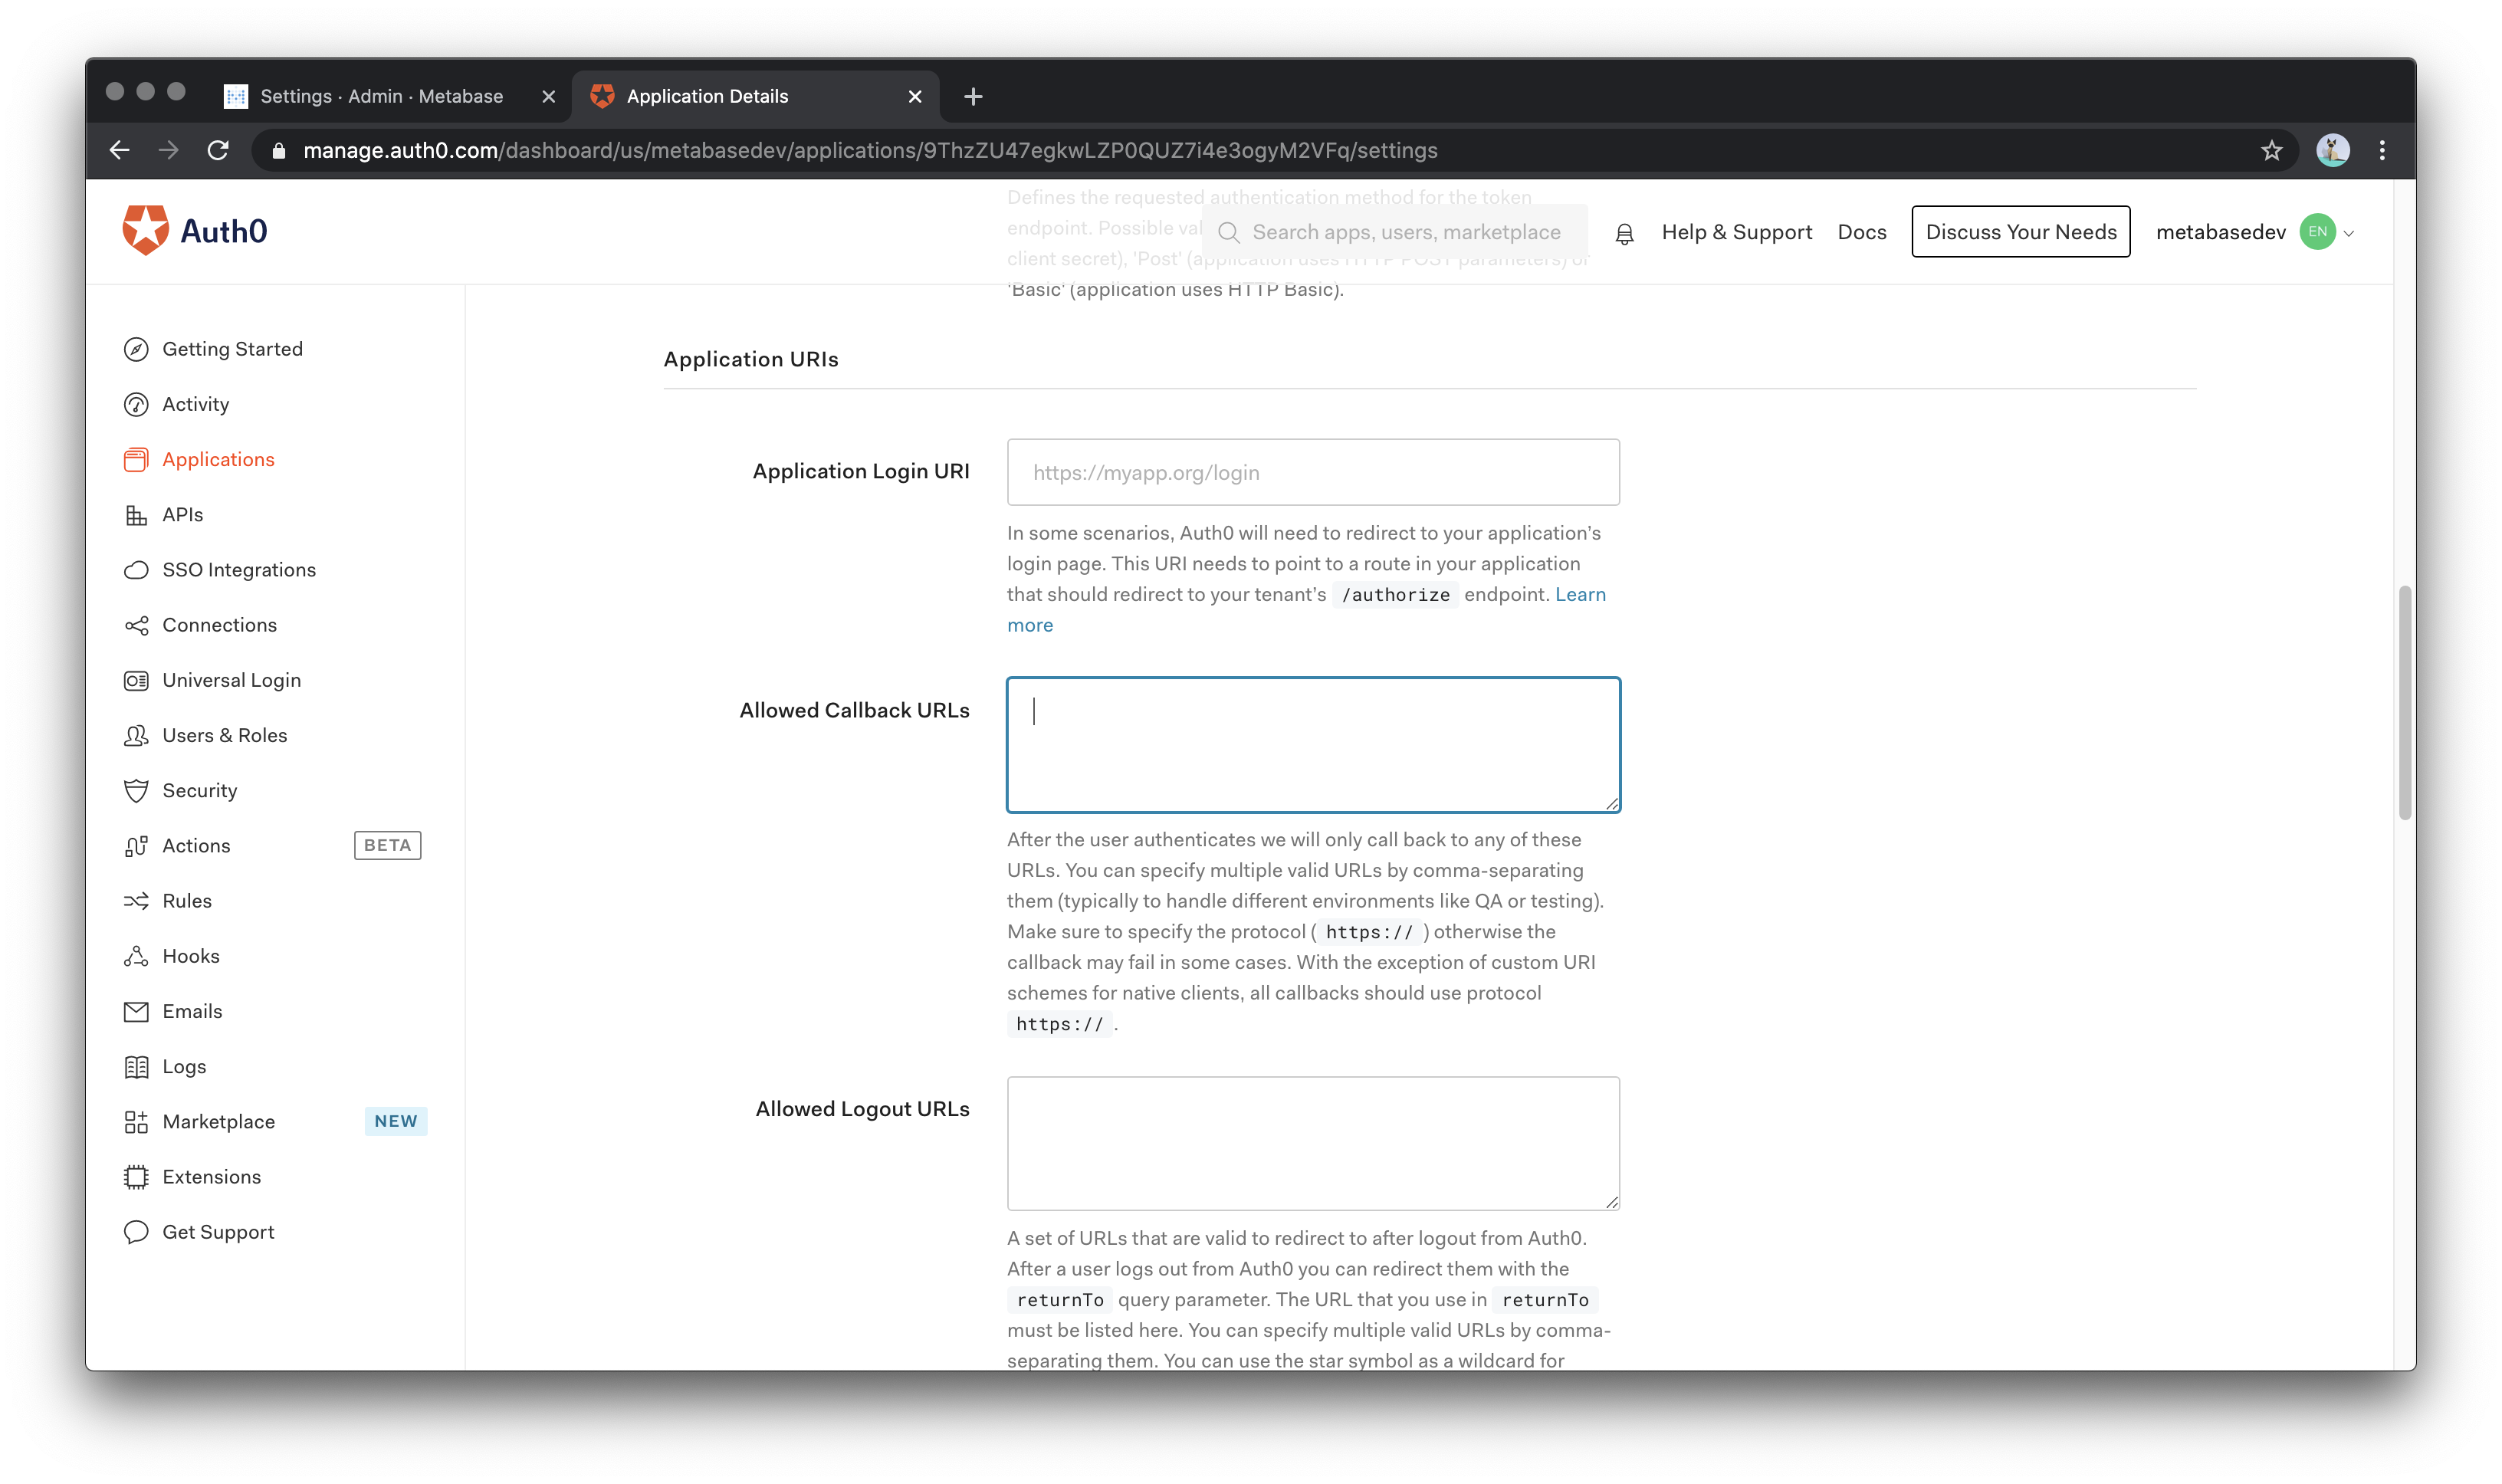
Scroll to the bottom of the page and click Save Changes.
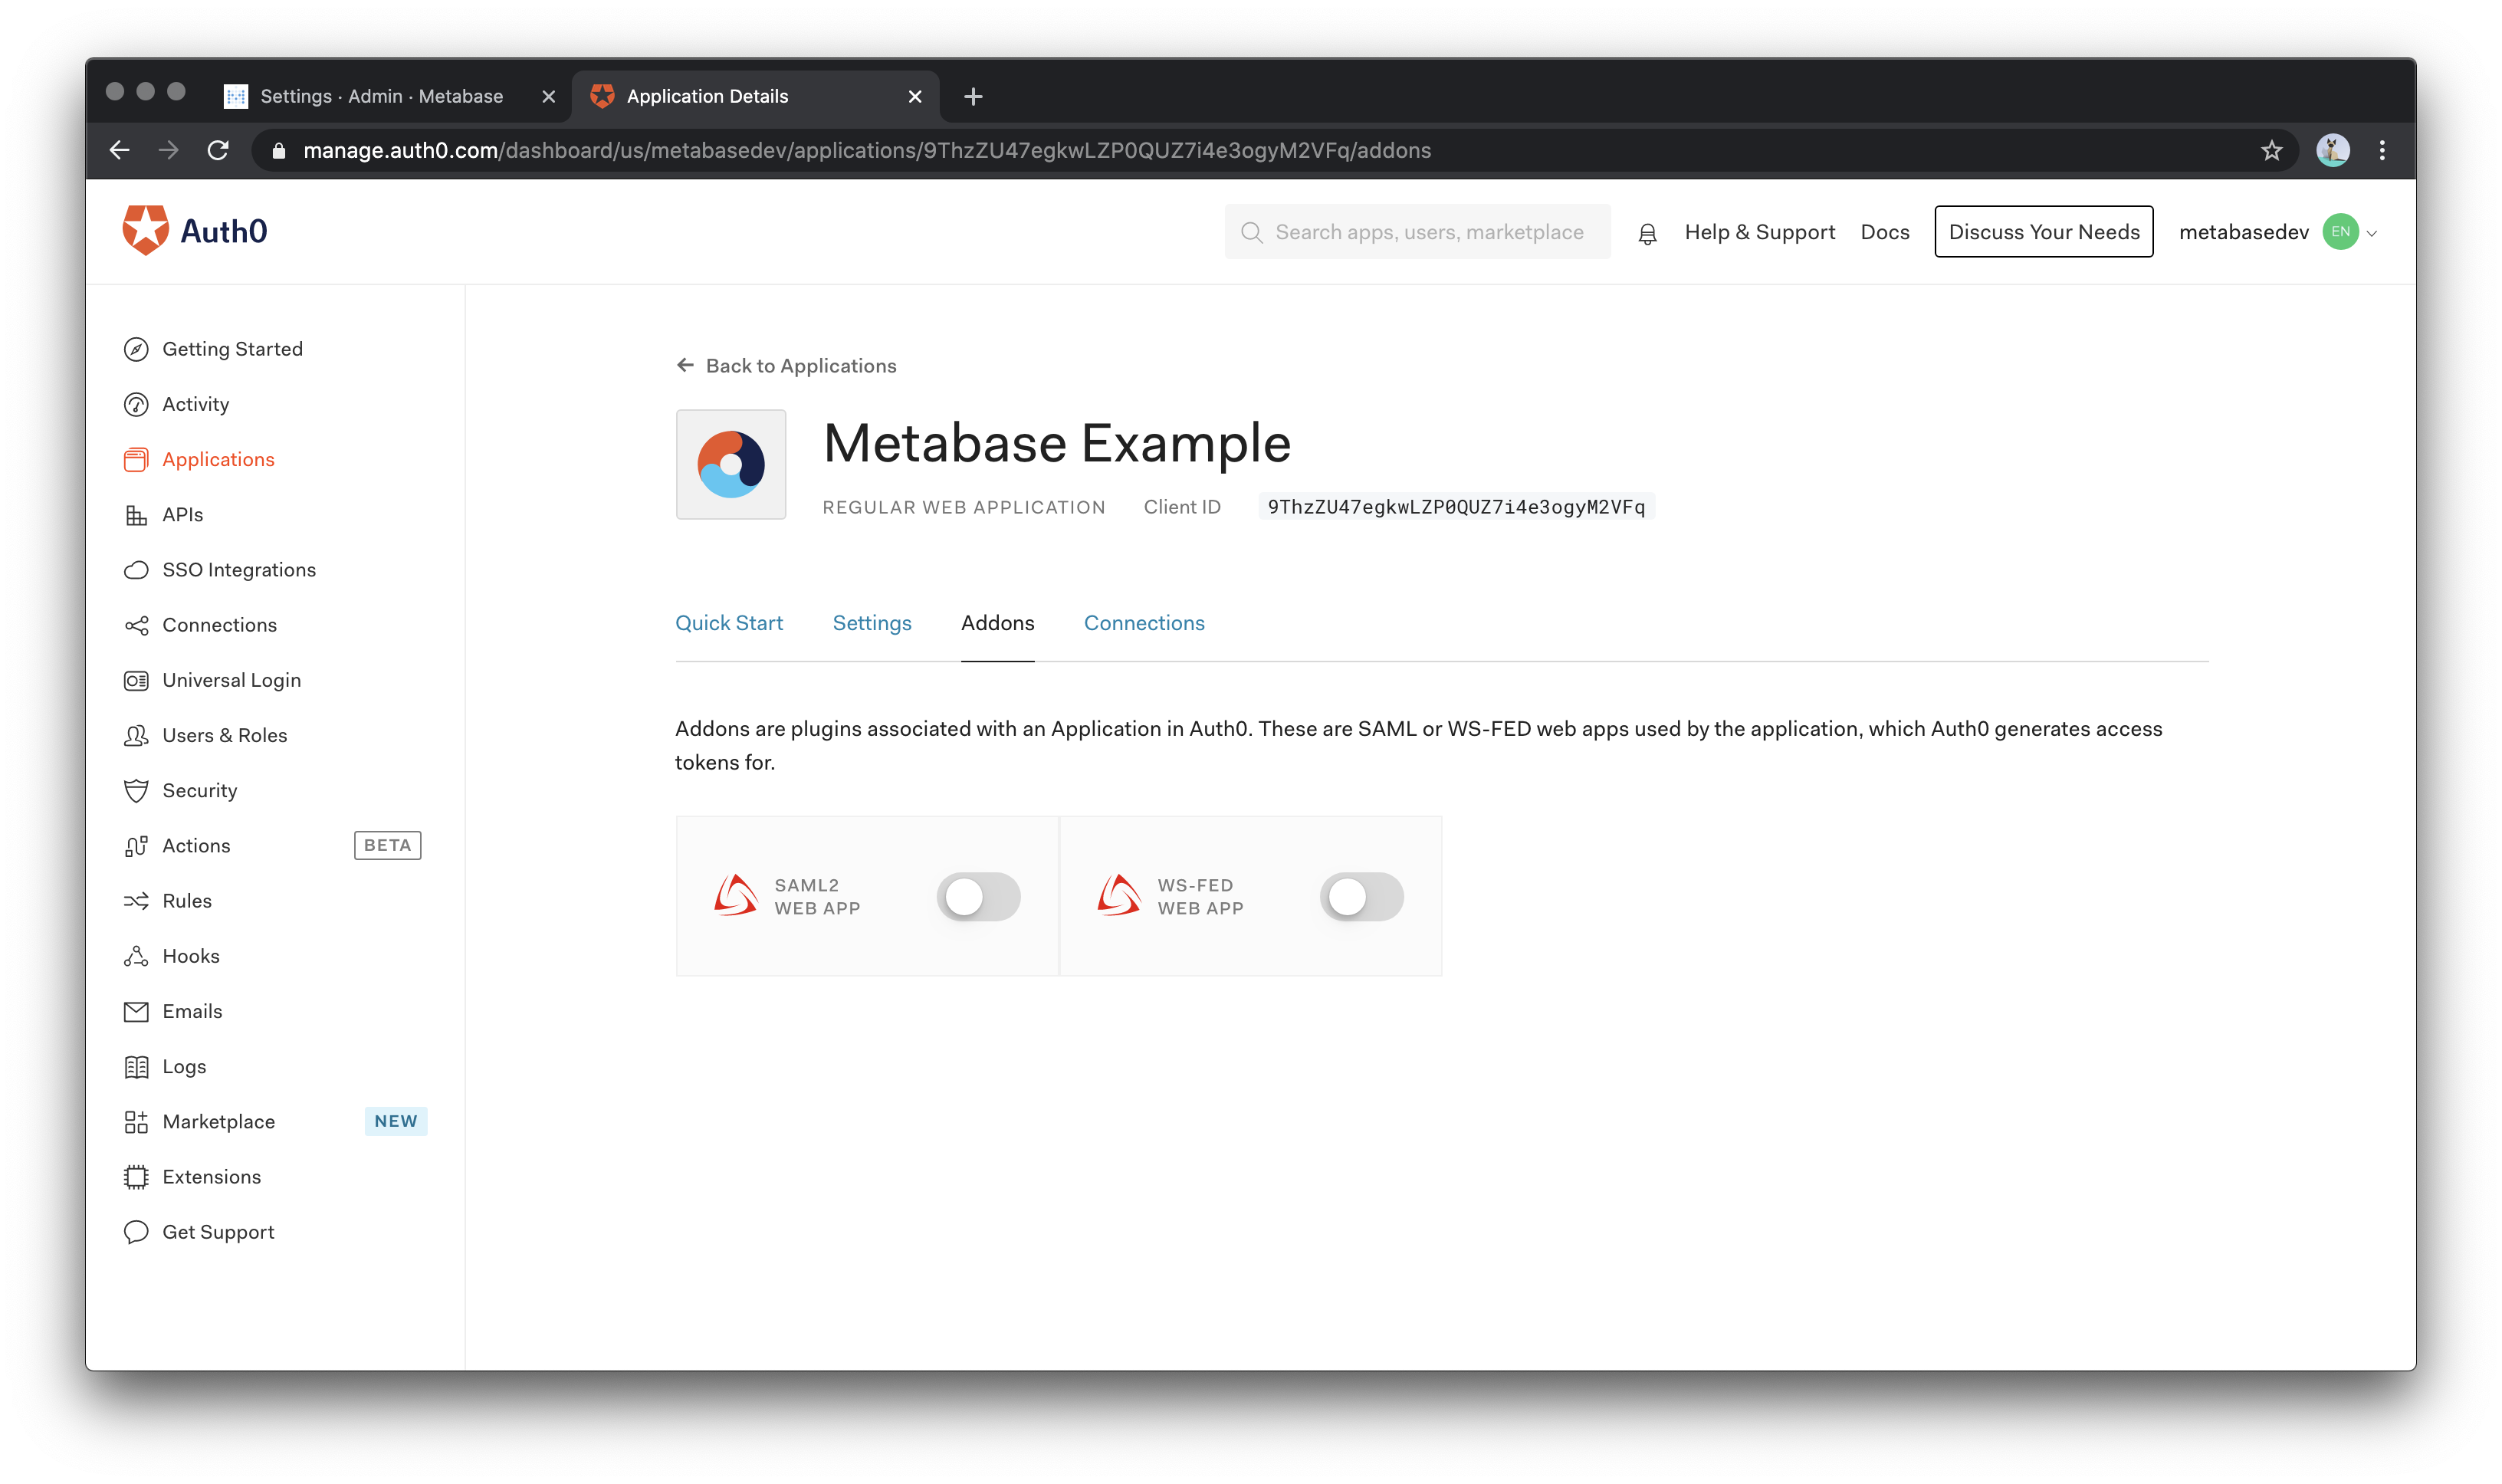
Enable SAML in Auth0
Next, we need to activate the SAML2 Web App Addon. Scroll back to the top of the settings page and select Addons from the navigation menu.
In the Addons section, select the SAML 2 Web App to load the settings popup.
Mapping fields from users in Auth0 to Metabase
On the top of the Settings section on this page, you need to re-enter the value you included in Allowed Callback URLs in the field named Application Callback URL. Copy and paste the following JSON file in the settings box so that Auth0 can send the correct mappings to Metabase when a user logs in:
{
    "mappings": {
        "email":"http://schemas.xmlsoap.org/ws/2005/05/identity/claims/emailaddress",
        "given_name":"http://schemas.xmlsoap.org/ws/2005/05/identity/claims/givenname",
        "family_name":"http://schemas.xmlsoap.org/ws/2005/05/identity/claims/surname",
        "groups":"http://schemas.xmlsoap.org/claims/Group"
    }
}
If you need to set additional user properties, you can always return to this step to add additional fields to the mappings object.

Configuring Metabase
Next, in the Auth0 Addon: SAML2 Web App popup, click on the Usage tab and then configure in Metabase (column on the left) the values that this tab provides (column on the right).
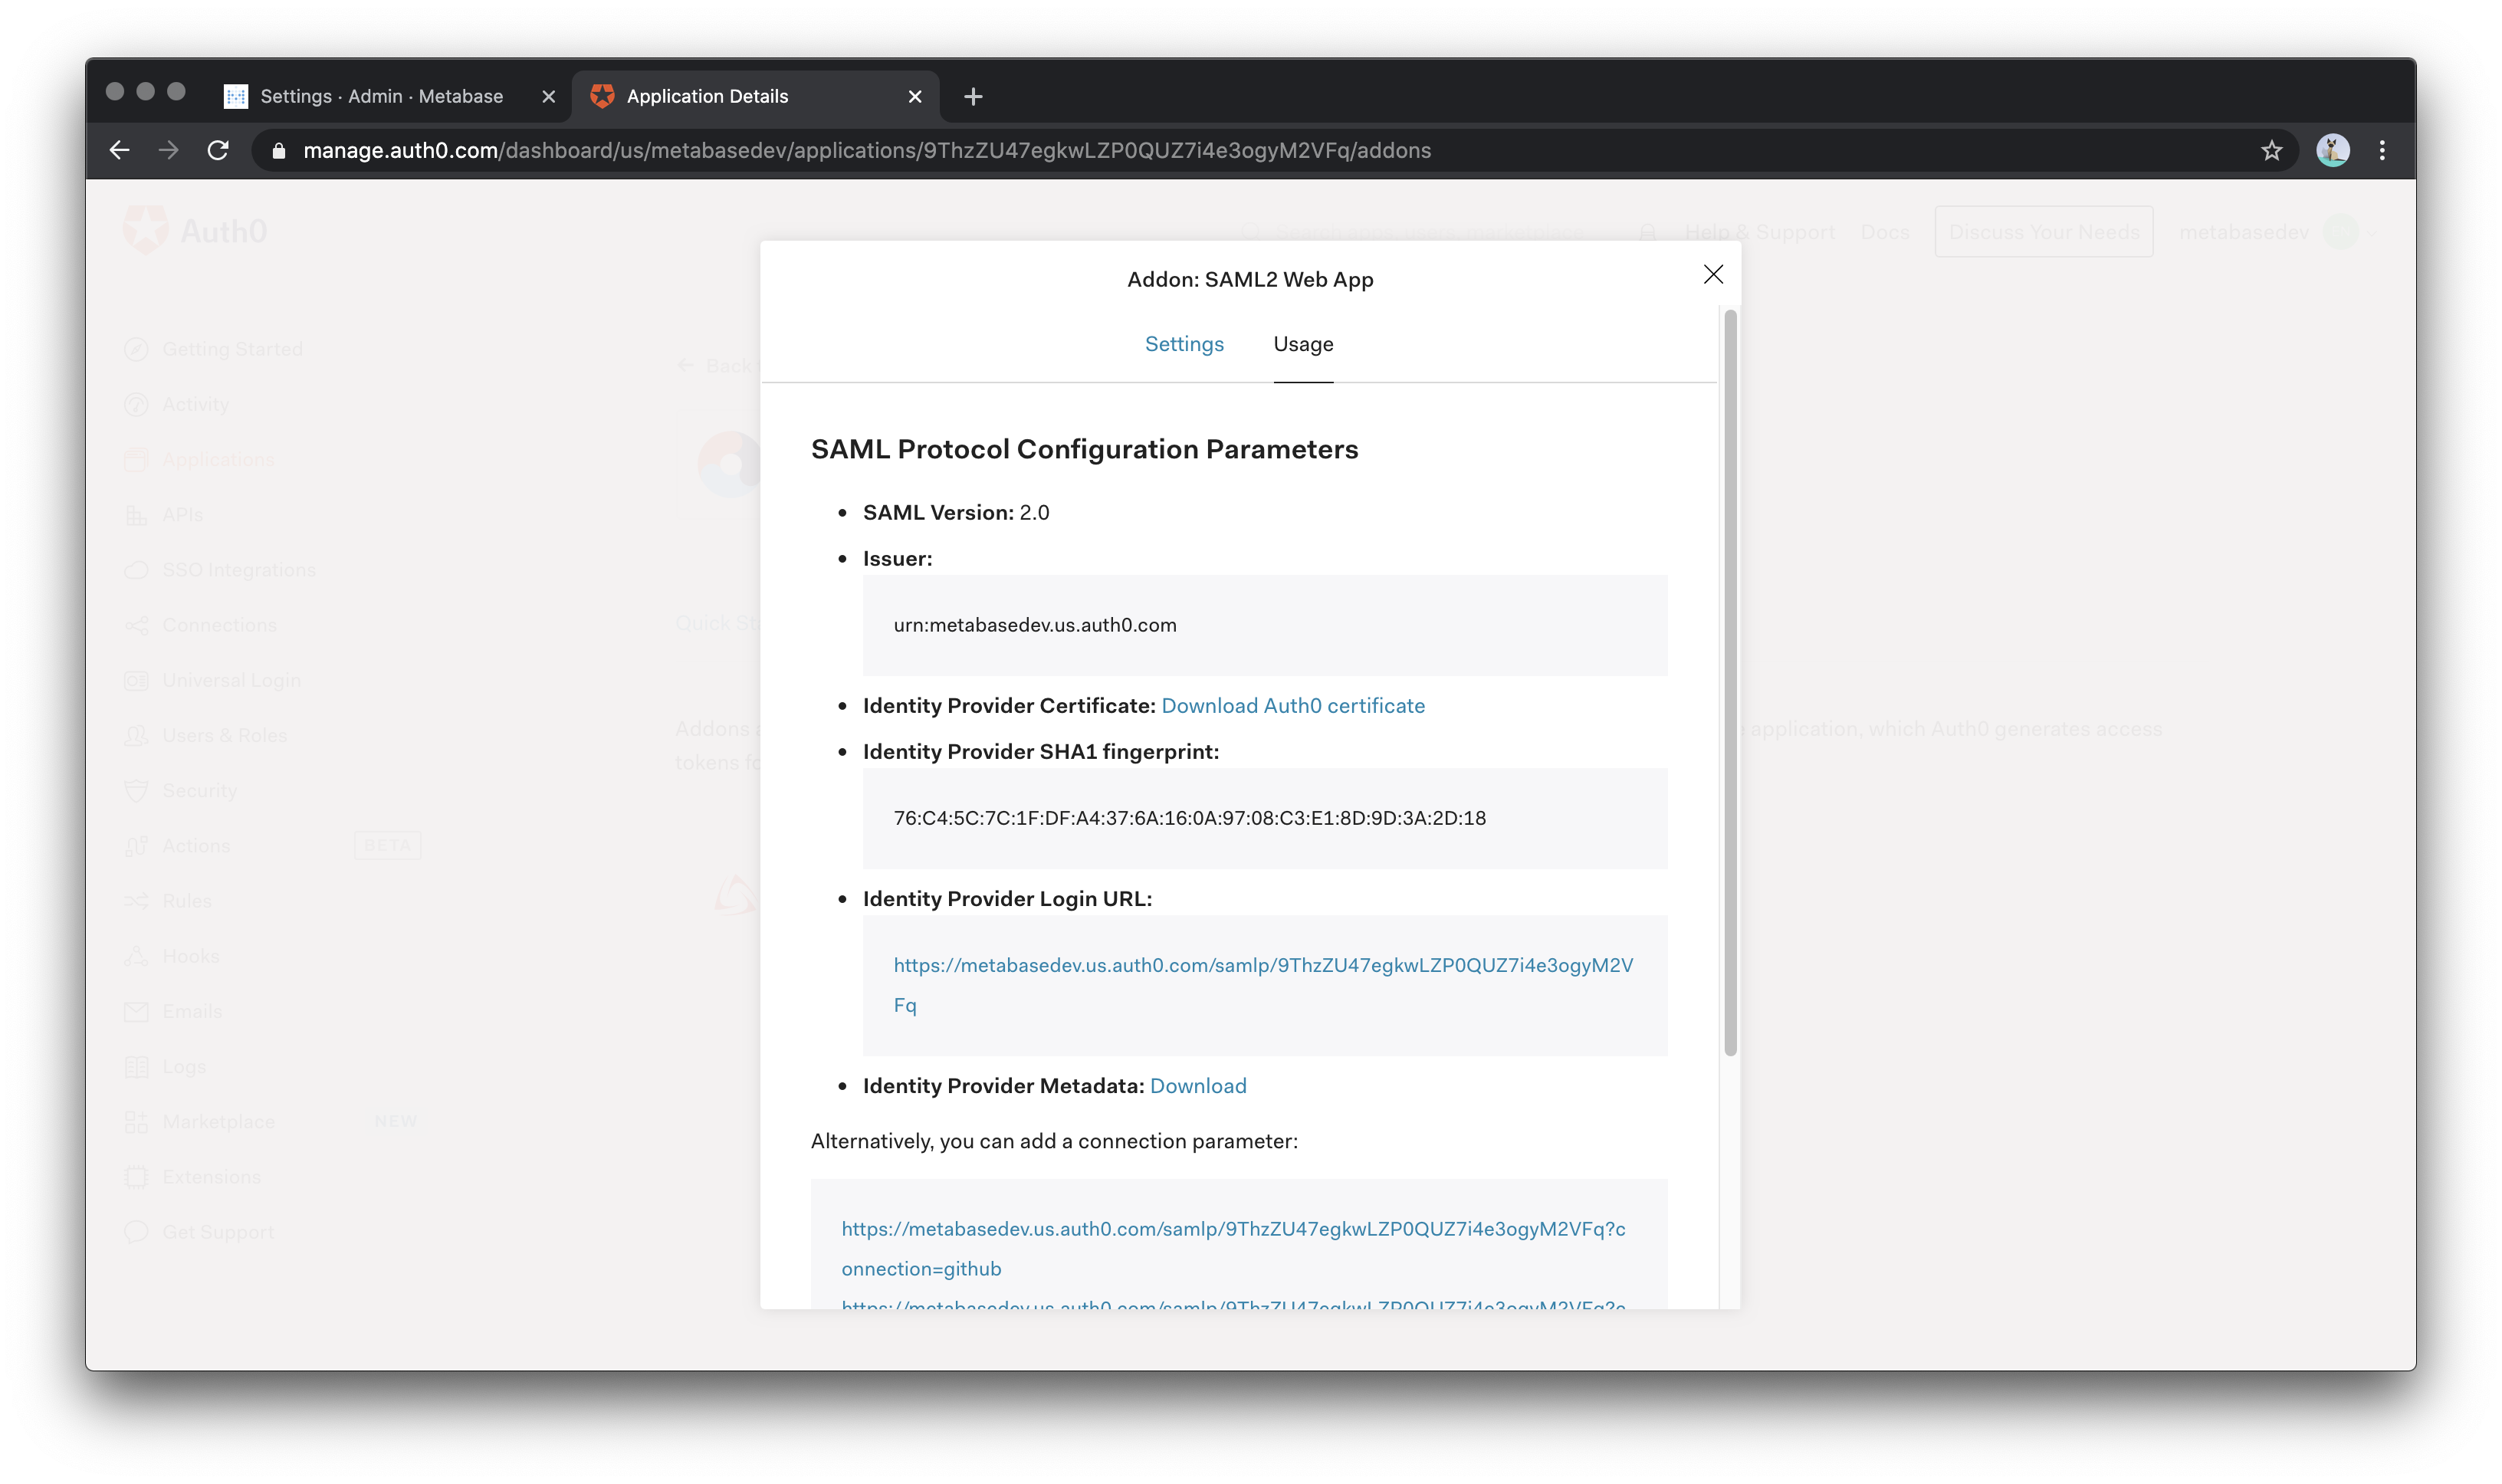
| Metabase | Auth0 |
|---|---|
| SAML Identity Provider URL | Identity Provider Login URL |
| SAML Identity Provider Issuer | Issuer |
| SAML Identity Provider Certificate | Open the Identity Provider Metadata link and copy the string under the X509Certificate tag |
The “SAML Application Name” value can be left as the default (Metabase).
Save your settings, then enable SAML in Metabase, and you should be good to go!
Troubleshooting SAML issues
Read docs for other versions of Metabase.