


Getting started with data apps
Beta: Data apps are in beta.
Data apps are only available on Pro and Enterprise plans (both self-hosted and on Metabase Cloud).
This page is a step-by-step guide to using an AI coding agent to build a data app with Metabase.
The basic workflow:
- You build an app locally with an agent.
- You can preview the app on your machine.
- When you’re happy with it, your agent saves the app to a Git repository, and your Metabase gets the app from that repository. A Git repository stores your app’s code, and keeps each version of it.
The app we build in this guide only shows data, so it works with any database that Metabase connects to. If your data warehouse is PostgreSQL or MySQL, you can also add a form that changes data.
What you need
- An admin account on a Metabase on a Pro or Enterprise plan.
- An AI coding agent, like Claude Code or Codex.
- Git on your computer, and an account on GitHub, GitLab, or Bitbucket. Your Metabase gets your app from a Git repository. If you don’t have a repository, step 5 shows you how to connect one.
Set up your tools
You do these steps once.
1. Install Node.js
Install Node.js 22.12 or later. To check which version you have, run:
node --version
2. Install the Metabase CLI, and log in to your production Metabase
Your agent uses the Metabase CLI (mb) to work with your production Metabase. Install the CLI:
npm install -g @metabase/cli
If you already have the CLI, run mb upgrade to get the latest version.
Then log the CLI in to your production Metabase. Use your Metabase’s URL:
mb auth login --url https://metabase.example.com
The CLI offers to open Metabase in your browser. Sign in with your admin account, and approve the CLI.
3. Add the metabase-cli skill to your agent
The metabase-cli skill is the only skill you need to add to your agent. It tells your agent to use the CLI and to load the skills that come with the CLI, including the skills for building data apps. Those bundled skills update when you upgrade the CLI. To add the skill to Claude Code, run:
npx skills add metabase/agent-skills --skill metabase-cli -a claude-code
For other ways to install the skill, check out The metabase-cli skill.
If you can’t add the skill to your agent, tell your agent to run mb skills get data-app before it starts on the app.
4. Publish tables to your semantic layer
Your agent builds your app on the tables that are published to your semantic layer. The semantic layer is your set of curated tables and metrics: the data that you’ve checked, and that people and AI should use. Building on it means your app shows the same vetted numbers as the rest of your Metabase. So publish trusted tables that are ready for analysis.
If you haven’t created your semantic layer yet, ask your agent to create it for you and add the tables it needs.
You can also create your semantic layer and add tables manually:
- Click the grid icon in the upper right, and select Data studio.
- In the left sidebar, click Semantic layer. If Metabase asks you to create your semantic layer, click Create my semantic layer.
- Look in the Data section. If the tables that your app needs are there, go to step 5.
- Otherwise, publish the tables that your app needs.
If your Metabase already syncs in Read-only mode, and the tables that your app needs aren’t published, build your apps on a development Metabase in Read-write mode instead. See Choose where to build apps.
5. Connect your Metabase to a Git repository
Skip this step if your Metabase already syncs with a Git repository.
Your Metabase connects to a repository with a feature called Remote Sync, which has two modes:
- Read-only: Metabase only reads from the repository. You and your agent can’t change the semantic layer in Metabase. Changes come only from the repository. Use this mode for a production Metabase that people rely on.
- Read-write: Metabase can also write to the repository, and you and your agent can change the semantic layer in Metabase. Use this mode if you’re only trying out data apps.
Choose a mode now, because each mode needs a different access token.
- Create a new repository on GitHub, GitLab, or Bitbucket, and initialize it with a README file. See Set up a repository.
- Create an access token for the repository. For Read-only mode, see Create a token for your production Metabase. For Read-write mode, see Create a token for your development Metabase.
- On your Metabase, go to Admin > Settings > Remote sync.
- In Repository URL, enter the repository’s URL, for example
https://github.com/your-org/your-repo. - Select the mode that you chose.
- In Access Token, paste the token.
- Click Set up remote sync.
Metabase pulls from the repository’s default branch, usually main.
Anyone who can push to the repository can change the content in your Metabase, so give write access only to people that you trust as admins.
The rest of this guide assumes that your Metabase is in Read-only mode.
6. Clone the repository
Clone the repository that you connected in step 5 to your computer, and change into its directory. Use your repository’s URL:
git clone https://github.com/your-org/your-repo
cd your-repo
Your agent works in this folder, on the branch that your production Metabase pulls from. To find that branch, go to Admin > Settings > Remote sync on your production Metabase, and look at Sync branch. It’s probably main or master.
Build the app
7. Ask your agent for the app
Start your agent in the folder of your clone, and describe the app. For example:
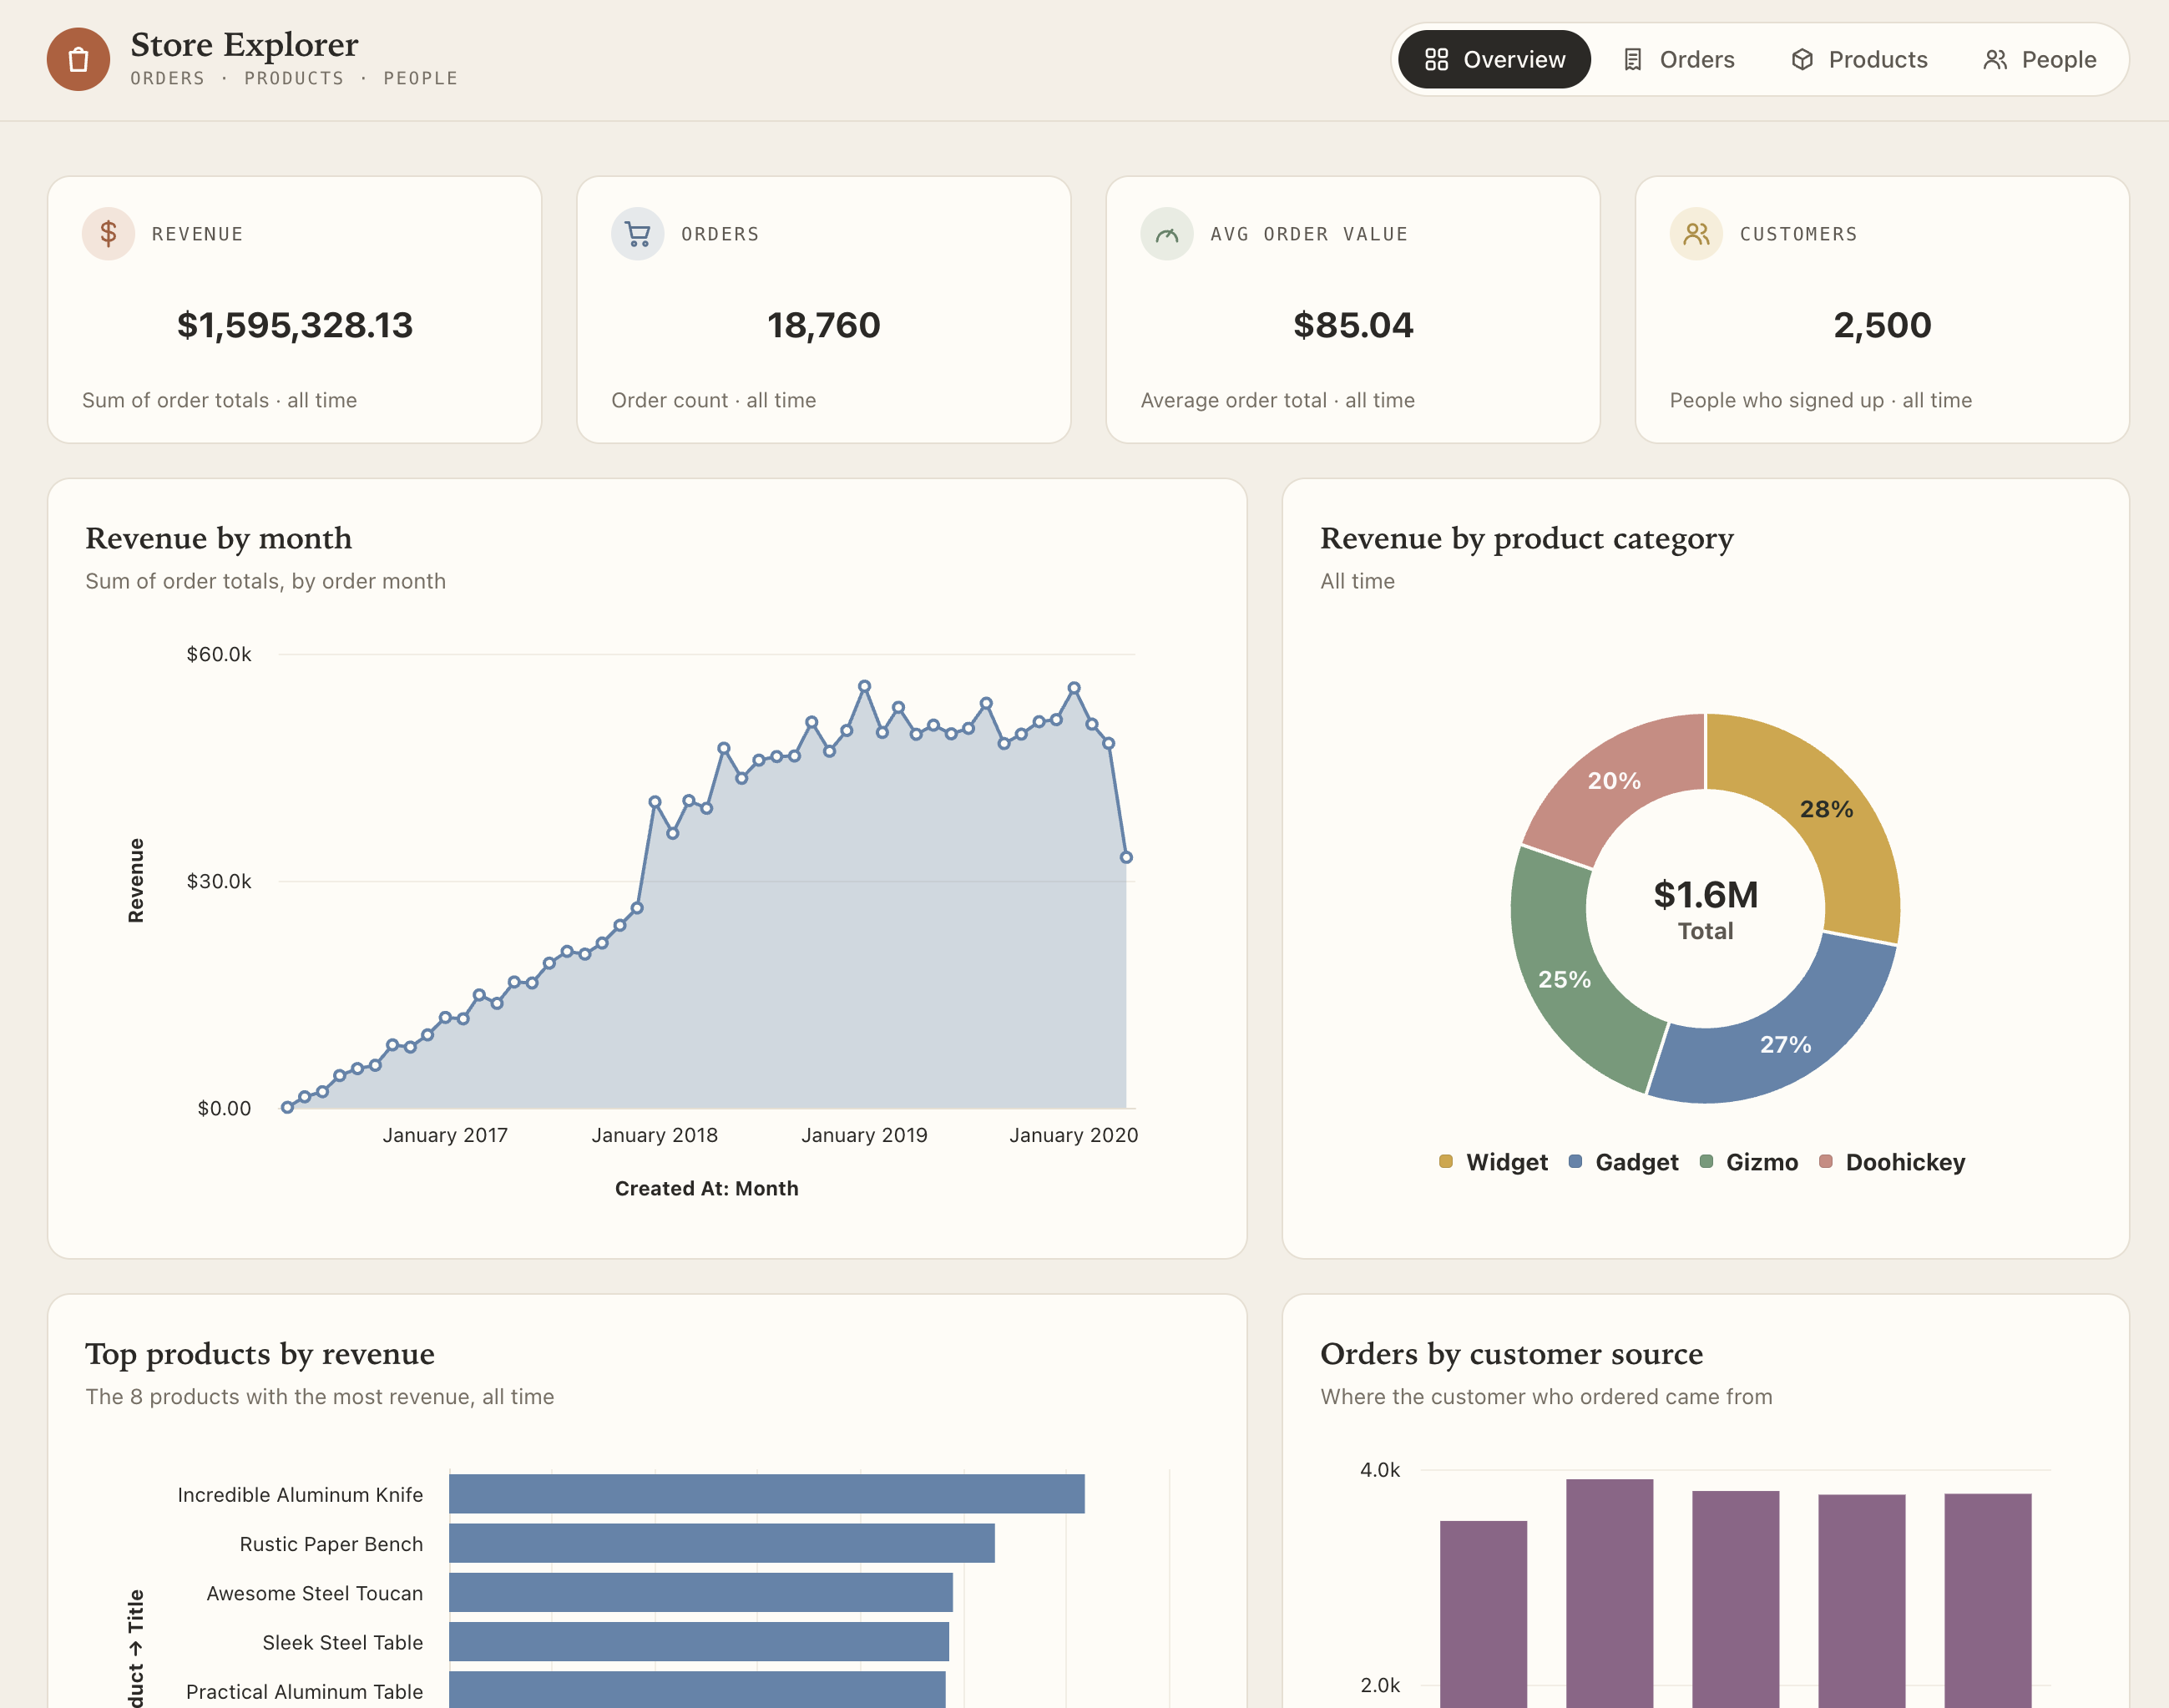
Create a Metabase data app that shows our orders by month, and a table of the latest orders. Make it look cool.
The agent:
- Writes the app’s code in
data_apps/<slug>/, where<slug>is the app’s short name. The code includes the questions that the app runs. - Starts a preview of the app.
Ask for an app that uses the tables and metrics that are already in your semantic layer. If the app needs a table or a metric that isn’t in your semantic layer, the agent stops and tells you what’s missing.
The agent runs commands on your computer, like mb, npm, and git, and it might ask for your permission first.
8. Preview the app
The agent starts the data app preview at a localhost address on your computer. This preview is just the app running on your local machine; it’s not yet on your Metabase. The preview allows the agent to “see” the app in the browser and iterate on the app’s design.
Open the preview in your browser, and keep the tab open while the agent works: the agent reads the app’s errors from the open preview.
The preview gets its data from your Metabase with an admin API key. So the preview shows what an admin can see, not necessarily what the app’s viewers can see. You choose who can open the app in step 10.
The agent asks before it creates the key, and deletes the key when it’s done. If your session ends first, delete the key yourself. The key’s name starts with data-app.
Ask your agent for changes until the app looks the way you want.
9. Ship the app
When the app is ready, tell your agent:
Ship the app to my Metabase.
The agent:
- Builds the app.
- Commits the app to the branch that your production Metabase pulls from.
- Pushes the branch to your repository.
- Pulls the branch into your production Metabase with the CLI.
If your agent can’t commit or push (for example, because your agent’s permission settings block git commit or git push), run the commands yourself in your local clone. Use your app’s slug. The agent adds .env.local to your .gitignore file to keep the preview’s API key out of Git, so commit .gitignore too:
git add .gitignore data_apps/<slug> collections/data_apps
git commit -m "Add the <slug> data app"
git push
Then, on your production Metabase, pull the changes.
Open the app at /apps/<slug> on your production Metabase, for example https://metabase.example.com/apps/orders-overview.
Grant permissions to groups
For others to view the app, you’ll need to grant them permissions.
10. Add groups to the app
- In your Metabase, click the grid icon in the upper right, and select Data studio.
- Click Data apps, and click the app.
- On the Permissions tab, add the groups that can open the app.
People in those groups can now open the app at /apps/<slug>. The app runs with each person’s data permissions, so people see only the data that they’re allowed to see. For more, see Choose who can open an app.
Edit the app
-
In your clone of the repository, pull the latest changes:
git pull -
Start your agent in the directory and ask it for the changes you want.
-
Check the change in the preview.
-
When the change is ready, ask your agent:
Ship the app to my Metabase. -
Check the app on your production Metabase.
Add a form that changes data
An app can also add, edit, and delete rows in your database, with actions. Actions only work on tables in PostgreSQL and MySQL databases.
The preview changes production data: The preview runs the app’s actions against the database that your production Metabase connects to. Try out the form on rows that you add for testing.
-
On your production Metabase, turn on data actions for the database.
-
Do the steps in Edit the app, and ask your agent for the form. For example:
Add a form to the app that lets people add a product.
For the rules that an app’s actions follow, see What a data app can read and write.
Let us know what you think
Data apps are in active development. If you run into a bug or have an idea for how data apps should work, file an issue.
Next steps
- Data apps: The full reference for building, previewing, shipping, and changing apps.
- Manage data apps: Make apps live or drafts, and check which data each app reads and writes.
Read docs for other versions of Metabase.